This article will show you how to resolve the problem in question, so you can use your hard disk without any issues. Before we begin, we must go through the various causes of the issue in question. This will give you a better understanding of the issue and help you in figuring out what might be the actual cause. With that in mind, let us get right into it without further ado. Now that we have gone through the possible causes of the issue, we can start diving into the various methods you can use to see the partitions again. So, without wasting further time, let us get right into it.
1. Create New Volume
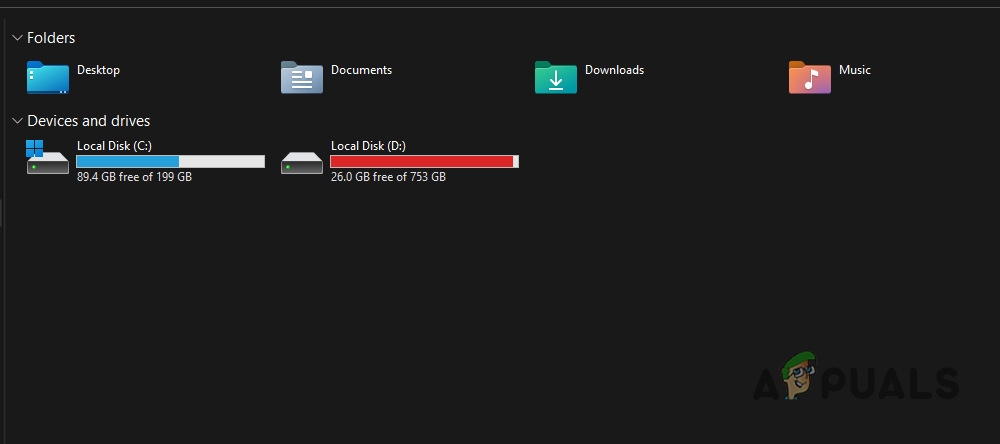
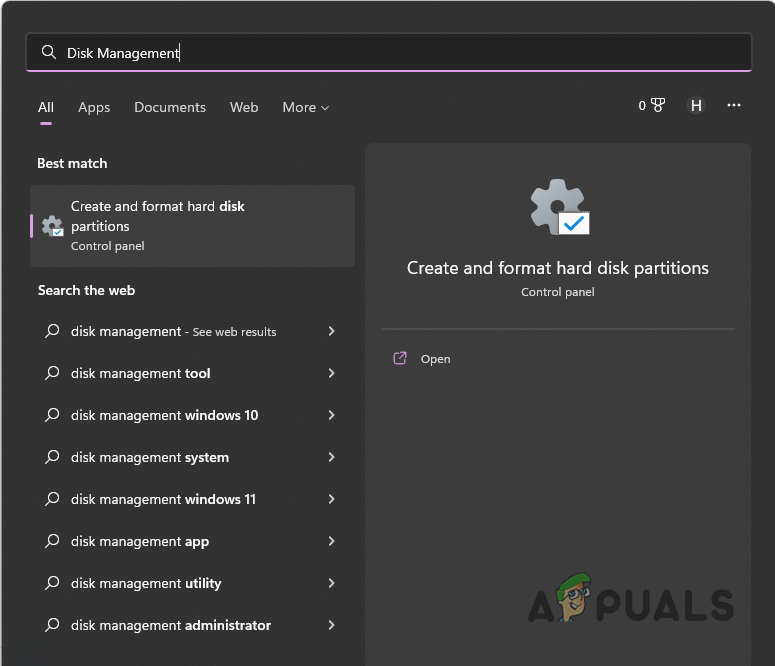
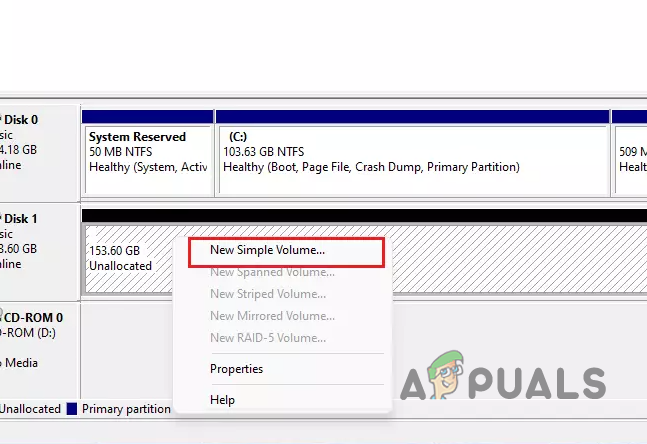
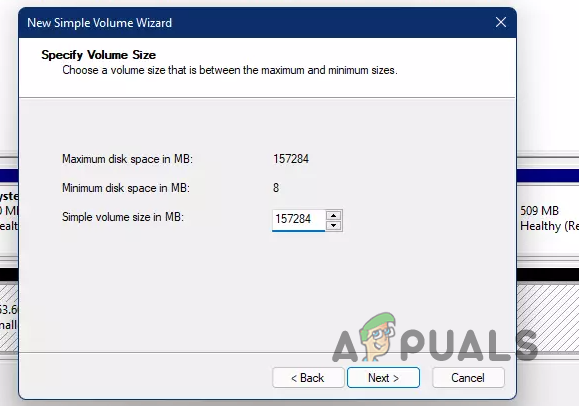
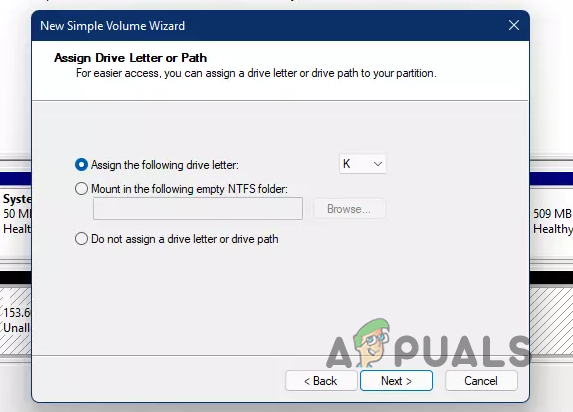
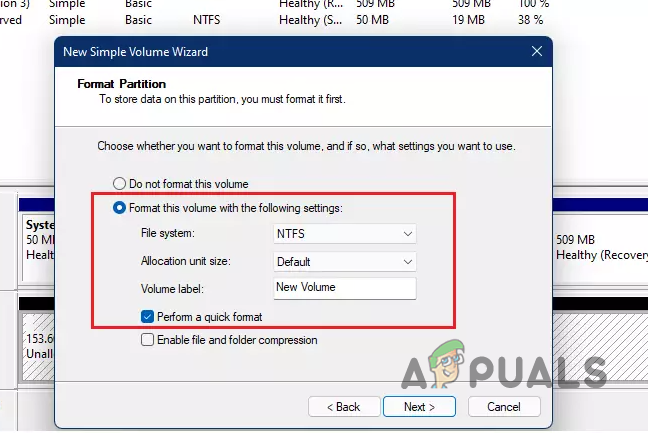
If you install a new hard drive on your computer, there will be no partitions by default. This is because the hard drive does not have any partitions, and you will have to create them before using it. When you create volumes on the hard drive, only then will you be able to see them in the File Explorer window. Hard drives do not come with pre-defined volumes, as users want to partition according to their needs. In addition, if you delete a volume on your hard drive, a new partition will not be created automatically. Creating volumes on your hard drive is straightforward. To do this, you will be using the Disk Management utility, which, as evident from the name, allows you to manage the hard drives on your computer. To create a new volume on an empty space on the hard drive, follow the instructions down below: If there is no empty space in your hard drive, and you are missing an existing partition, move to the following method below.
2. Assign a Letter to Existing Partitions
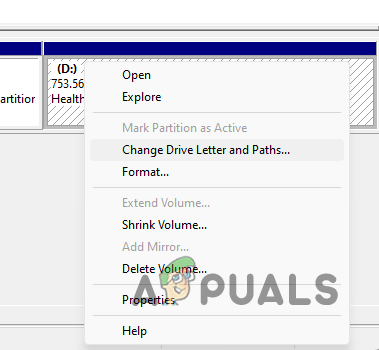
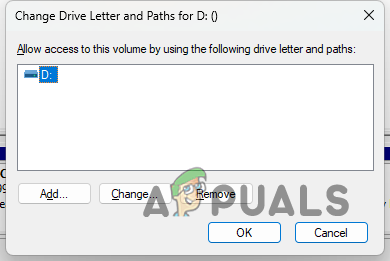
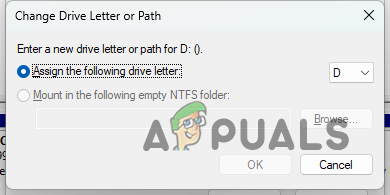
Assigning a letter to your various partitions is vital as the letters are used when accessing a specific partition. Drive letters and paths are correlated. As it turns out, in some cases, your existing partition can lose its letter, resulting in the partition disappearing from the Windows File Explorer. This is not something to worry about, as you will have to assign a drive letter, and it should be back without any issues. If this case is applicable, you will have to use the Disk Management utility to assign a letter to your partition. Follow the instructions down below to do this: If you do not have any partitions without letters, move to the next method.
3. Initialize Disk
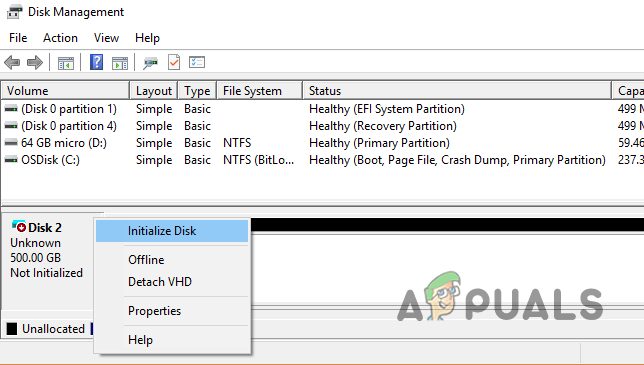
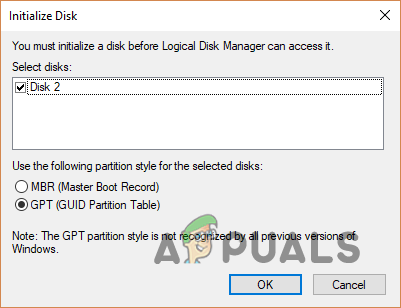
Sometimes, when a drive you install does not show up in File Explorer, it may be because the drive is not initialized. As it turns out, initializing a drive makes it ready for use by Windows. If you have used the drive elsewhere with data on it, we do not recommend initializing it. This is because when you initialize a drive, it erases all of the data on the drive, after which you can format it to create a new partition. If this case is applicable, we recommend installing it on a different PC or using a third-party recovery program to see if you can read the files. With that out of the way, follow the instructions down below to initialize a drive: After initializing the drive, you still won’t be able to see it in File Explorer. This is because there are no partitions on the drive to show. You will have to create volumes on the drive to start using it. To do this, follow the instructions below:
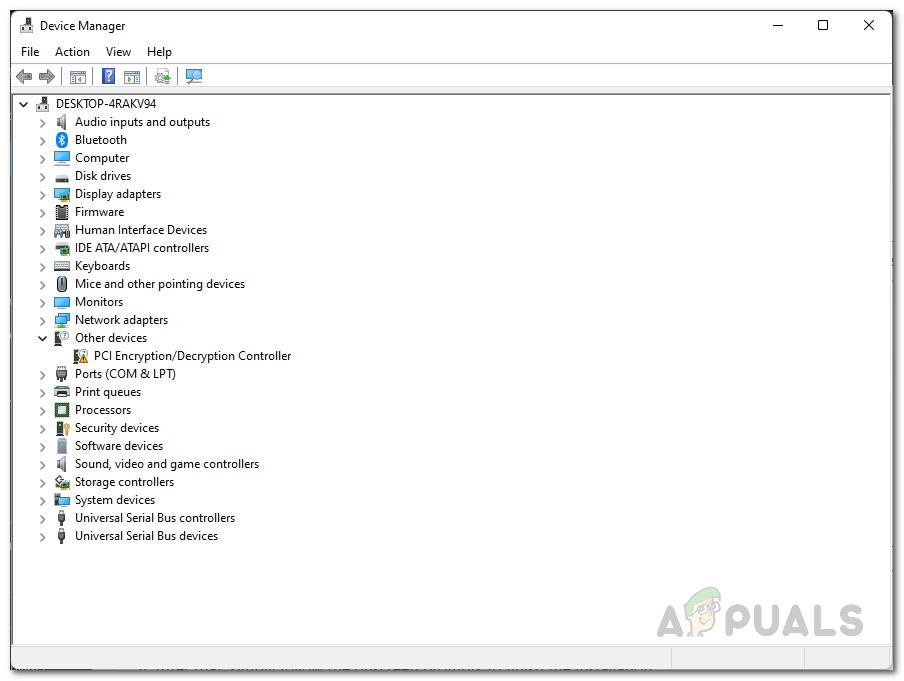
4. Reinstall Disk Drivers
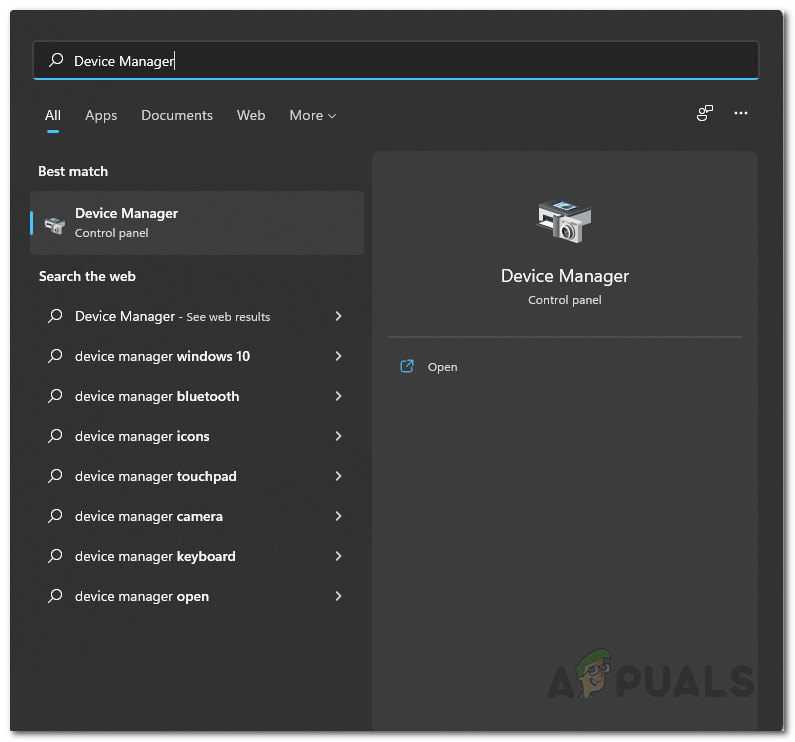
All the hardware on your computer needs communication with the Windows operating system. Device drivers provide this communication bridge so that the hardware and software can work together. In some cases, your disk drivers may malfunction and stop working correctly. This can sometimes happen when you install a Windows update or something similar. If this case is applicable, you will have to reinstall your disk drivers in an attempt to fix the issue. Follow the instructions down below to do this:
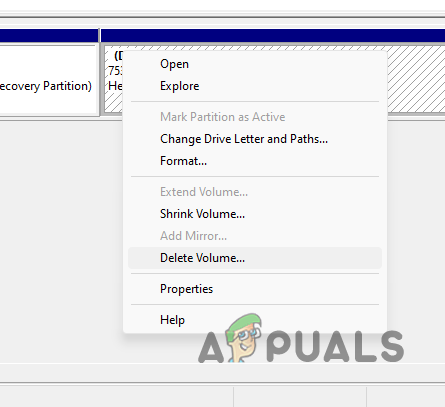
5. Delete Missing Volumes
Finally, if none of the above methods fixes the problem for you, and you are still unable to see the missing partitions in File Explorer, it is very likely the missing partition might be corrupted. When this happens, you will have to delete the existing volumes and then re-partition the hard drive. If there is important data on the drive you do not want to use, you can try recovering any data from the hard disk. To delete volumes, follow the instructions down below:
FIX: Windows 10 Not Seeing One or More HDD Partitions after CHKNTFSHow to Fix ‘Location is not available’ Error When Accessing Certain PartitionsBEST GUIDE: GPT vs MBR (Partitions)Fix: Windows could not Configure One or More System Components