After investigating this particular issue thoroughly, it turns out that there are several different underlying causes that are most likely triggering this problem on Windows 11. Here’s a shortlist of potential culprits that you should be aware of: Now that we went over every potential reason why you might experiencing disk usage spikes to 100% on Windows 11, let’s get to the fixing part. Here’s a collection of methods that other users suffering from the same kind of issue have successfully used to resolve this problem completely:
1. Defragment Operating System drive
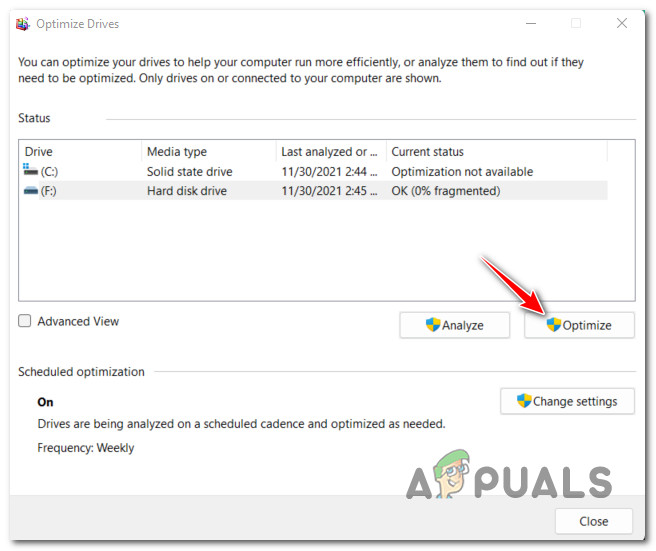
If you’re still using a traditional HDD and you previously turned off the Defragment and driver optimizing function, chances are you’re seeing this type of issue because the file system on your OS partition is getting disorganized as more files are added to the mix. Several affected users that we’re also dealing with this problem have confirmed that they managed to fix the problem by running the Optimize Drives utility. Note: You can also run the optimization function on SSD drives too, but they’re generally more resilient to slowdowns caused by file fragmentation. Follow the instructions below to optimize the drive that is causing disk usage spikes on Windows 11: Note: While you’re optimizing the OS drive, you should also consider enabling the Scheduled optimization feature to ensure that this type of problem won’t resurface in the future. If this method was not applicable in your particular scenario, move down to the next potential fix below.
2. Restart the Application Management service
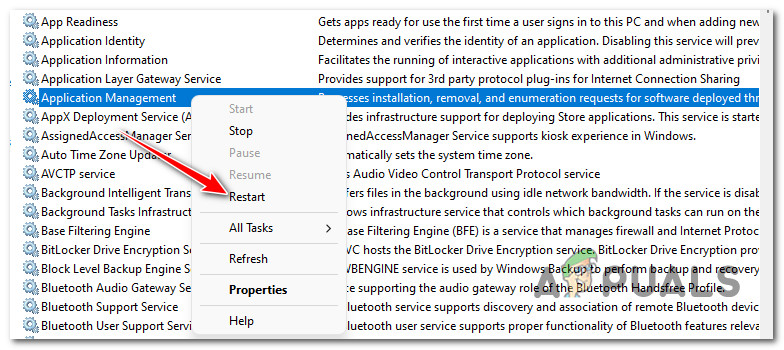
If you’re looking for a temporary fix that will allow you to use your PC normally without identifying the root cause of the problem, you should open the Services screen and simply restart the Application Management service. This will resolve a glitch that is around since Windows 10 where the disk eventually gets overwhelmed as the Application Management service is unable to handle the stream of data it’s being assigned. Restarting this service will most likely bring the disk usage down considerably, but the fix will only be short-lived. You should expect the problem to return the next time you boot up your Windows 11 computer. Follow the instructions below to restart the Application Management service on Windows 11: If the same kind of problem is still occurring, move down to the next potential fix below.
3. Disable the CompatTelRunner.exe process
Another possible reason why you might be experiencing this type of massive disk usage even in situations where your PC is not really doing anything is the CompatTelRunner.exe process. This service uses the Telemetry component to collect system data that will be used by Microsoft’s team to improve the security and quality of service. The thing is you don’t get any immediate benefit from allowing CompatTelRunner.exe process to run in the background. Even more, if your PC has limited computing power and you’re using a traditional drive, you can expect this component to do more bad than good since it might end up taking up all your disk reading speed as it’s sending Telemetry data to Microsoft’s servers. If this scenario is applicable, you actually have two ways that will allow you to fix the issue: We’ve covered both of these methods, so feel free to follow the sub-guide that you feel most comfortable with. Note: Both of these methods are tested and confirmed to be working on Windows 11.
Disable the CompatTelRunner.exe process via Task Scheduler
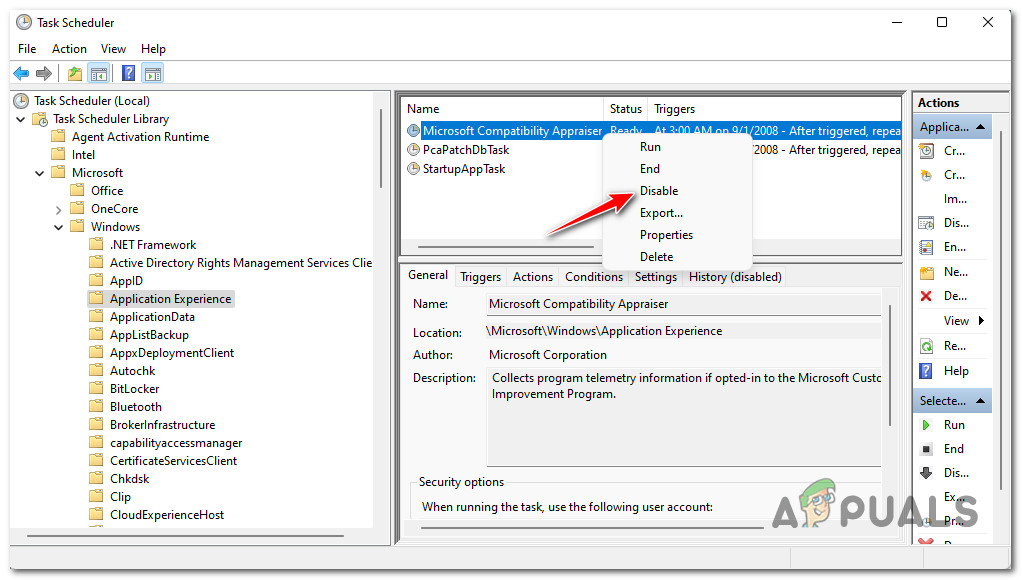
If you decide to disable this component via Task Scheduler, you’ll actually need to disable all three tasks associated with the main CompatTelRunner.exe. You can locate all three of these tasks under Application Experience. Follow the instructions below for specific instructions on how to do this:
Disable the CompatTelRunner.exe process via Registry Editor
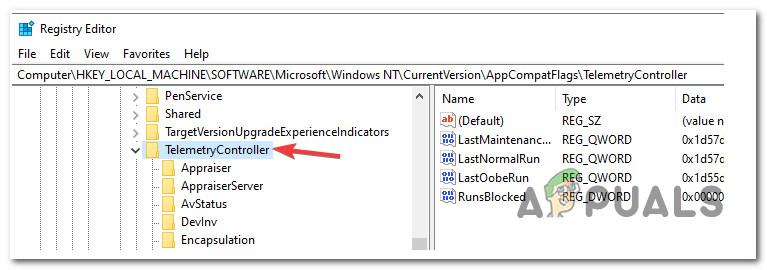
If you want to avoid Task Scheduler for some reason, you can also stop the CompatTellRunner.exe process from producing effects on your Windows installation by renaming a Registry key used by the telemetry data collection component. To do this, follow the instructions below to use Registry Editor to rename the TelemetryController key so that you force your OS to disregard it. Follow the instructions below: If the same kind of problem is still occurring even after you disabled the effects of CompatTelRunner.exe, move down to the next method below.
4. Test for a failing Drive
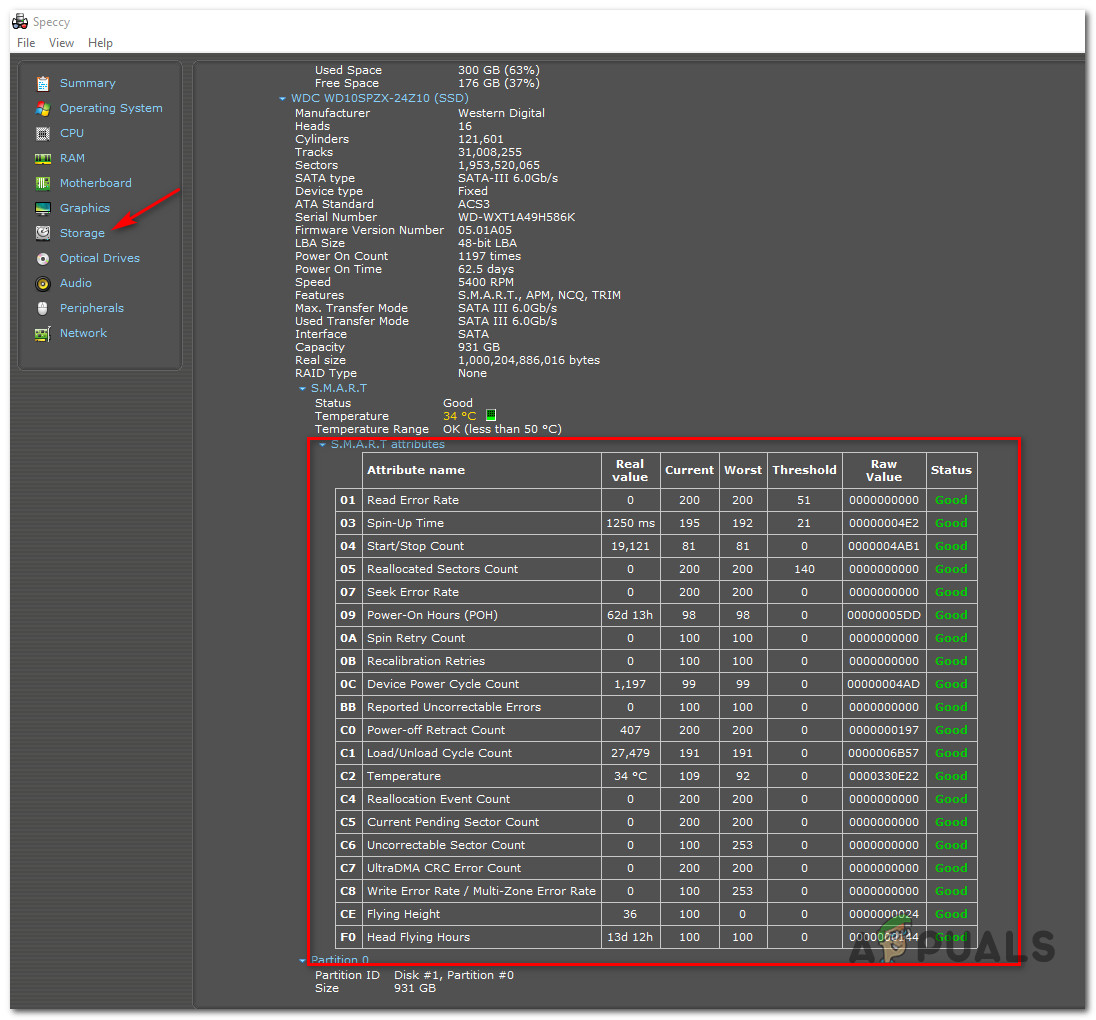
If the methods above haven’t brought you closer to solving this issue, you should also start contemplating a potential failing drive (especially if you’re using a traditional HDD). The reason why your disk has periods when it stays at 100% usage during idle periods on Windows 11 might be because it’s beginning to fail. If you’re dealing with this type of scenario, there’s one free 3rd party tool called Speccy that will allow you to investigate if your HDD / SSD is indeed failing or not. Note: If this method concludes that your drive is not failing, you can conclude that the cause is software-related. Speccy will give you an overview of about 30 SMART points that measure the health of your drive. If all the measurements are within the normal range, your drive is not failing. Follow the instructions below to install and use Peccy to figure out if you’re experiencing 100% disk usage due to a failing drive: In case this investigation has shown you that you’re indeed dealing with a failing drive, the only viable at this point is to look for a replacement and back up your existing data while you’re still able to boot normally. On the other hand, if you’ve just concluded that the problem is not related to a failing drive, move down to the next potential fix below.
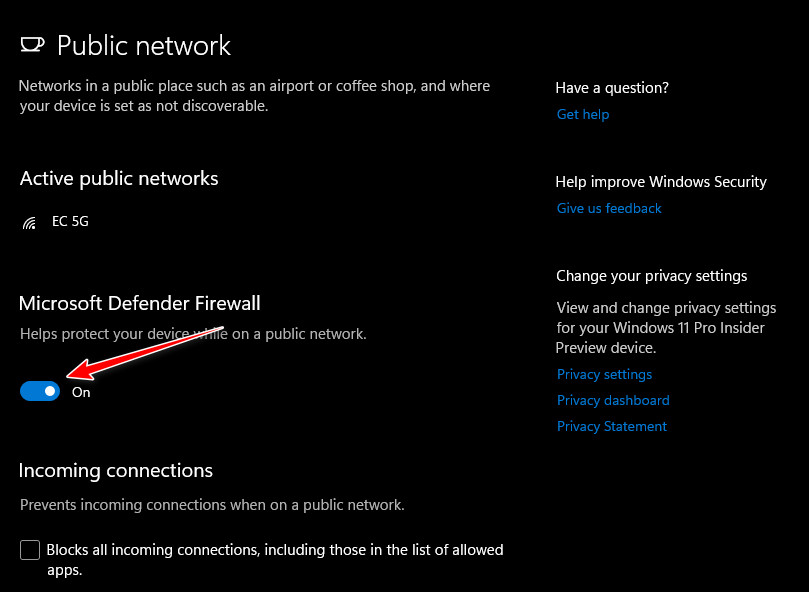
5. Restarting Windows Security (if applicable)
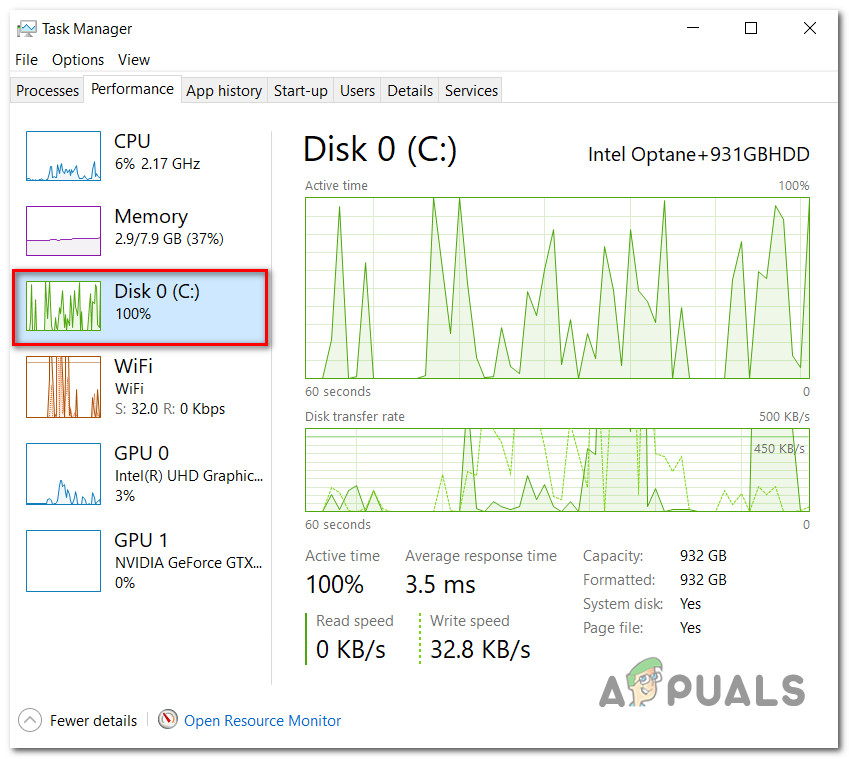
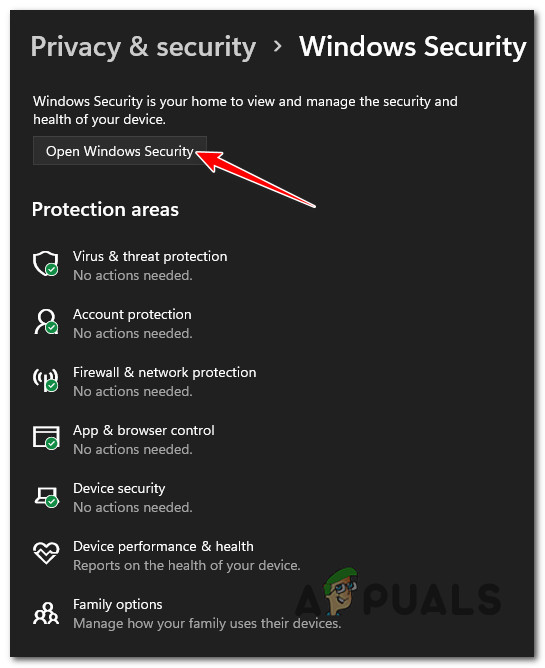
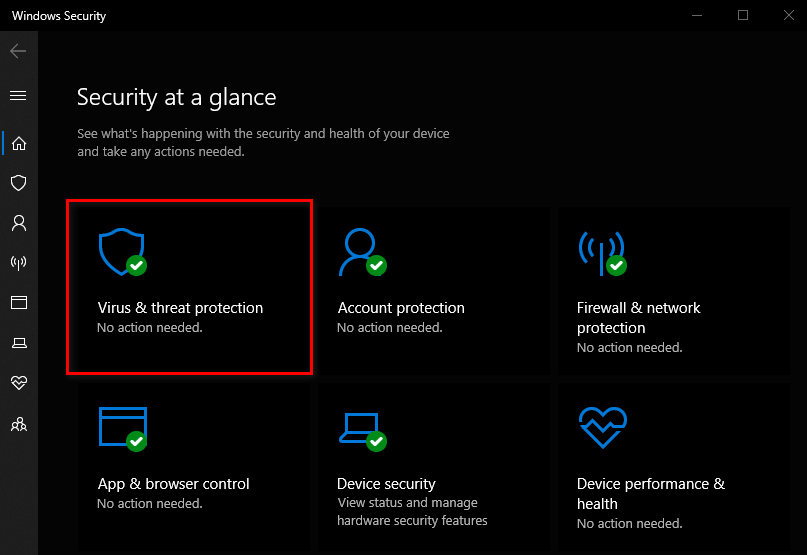
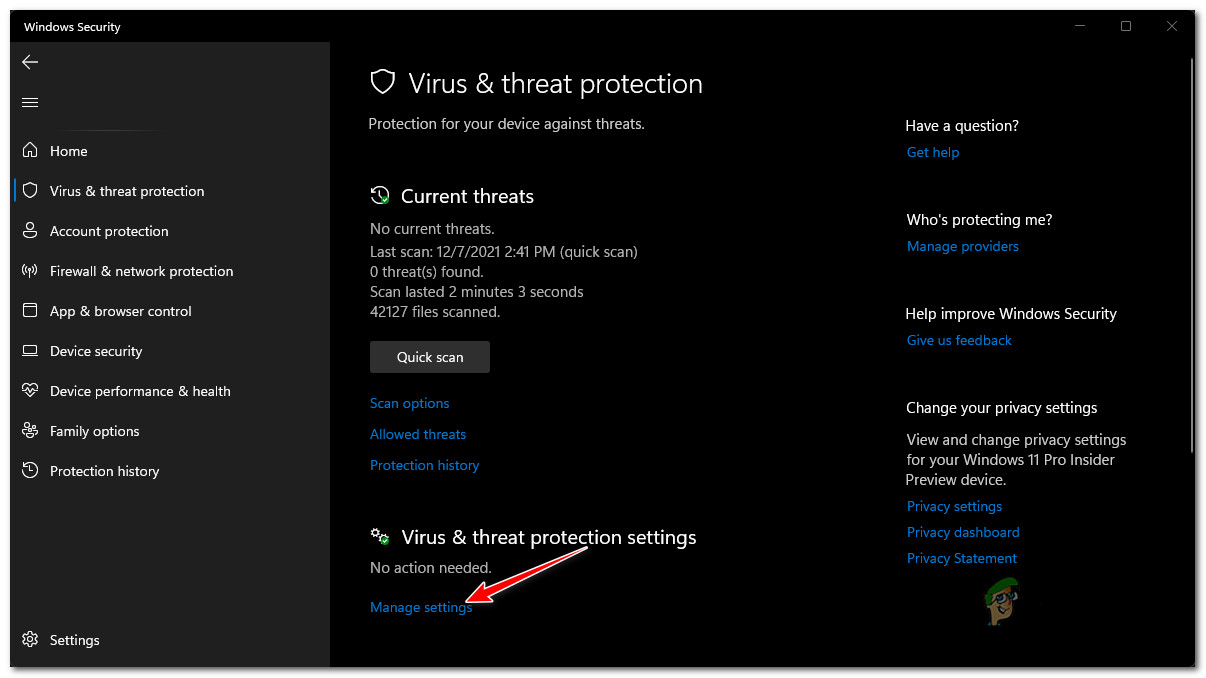
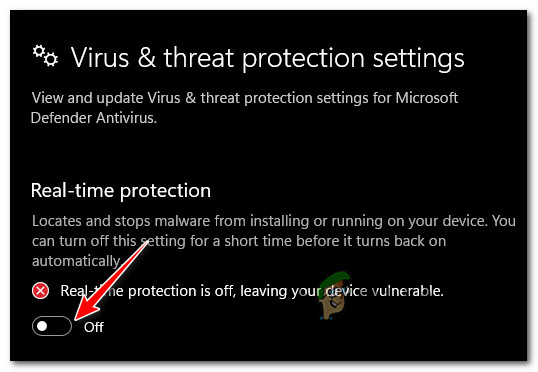
If you’re using the default security protection method on Windows 11 (Windows security), the 100% disk usage that you’re seeing inside Task Manager can also be caused by the ‘definition download’ glitch that ends up keeping the load at 100% even after the download of the new virus definition is finished. This problem was originally reported on Windows 10 and it’s now migrated to Windows 11 too. Until Microsoft finally gets around to resolving this problem, the only viable fix that other affected users have discovered is to temporarily restart your system with the security suite disabled – upon doing this and re-enabling the built-in Windows Security suite, a lot of users have confirmed that the disk percentage has finally returned to normal. If this scenario is applicable and you’re looking for specific instructions on how to do this, follow the instructions below: If the problem did not fix the disk usage issue in your case, move down to the next potential fix below.
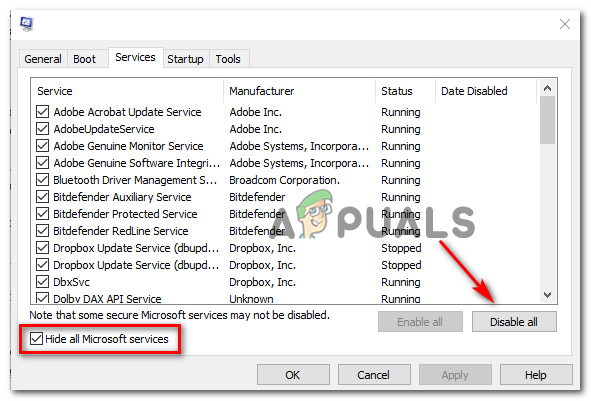
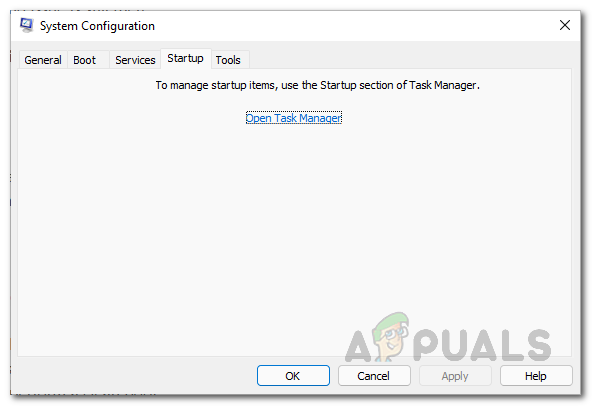
6. Clean boot and isolate the issue
As it turns out, this particular issue can also be rooted in some kind of 3rd party interference caused by a startup item, or process belonging to a 3rd party application that ends up hogging way too many available system resources. Since there are a lot of potential culprits that can be responsible for this type of issue, the best way to isolate and eliminate the problem is to perform a clean boot and systematically re-enable every disabled service until you manage to pinpoint the problem. Note: This method is often reported to be effective in scenarios where the affected users have just migrated to Windows 11 from an older version. Most commonly, the problem occurs due to a native Windows 10 app that is not yet adapted to work for Windows 11. Follow the instructions below for specific instructions on starting your Windows 11 PC in clean boot mode and identifying the program that’s hogging the available drive bandwidth: Important: In order to be able to follow the instructions above, you’ll need to be signed into an account with admin access. If achieving a clean boot state didn’t allow you to fix the issue, move down to the next potential fix below.
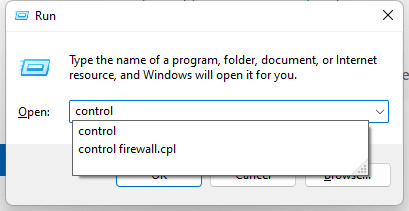
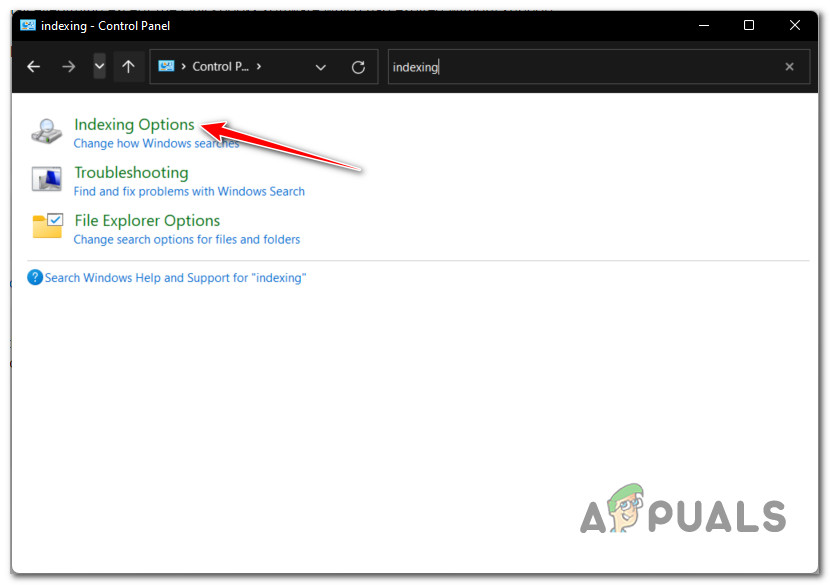
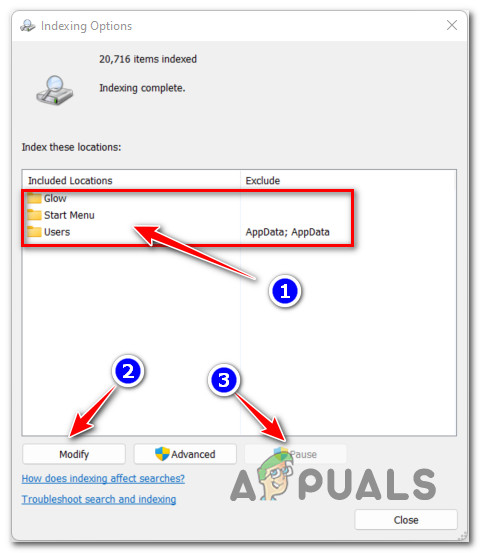
7. Pause the Indexing Options service
As it turns out, if you’re running Windows 11 on a low-end PC that barely meets the minimum specifications, this particular issue can also be caused by an indexing glitch. According to other affected users, if the indexing feature is having trouble getting hold of the required resources to index all required files, it will effectively keep the disk usage at 100% (even during idle periods) as it tries to catch up. If this scenario is applicable, one way of fixing the issue is to simply disable indexing on your PC. Note: Doing this means that your files will stop getting indexed which will prevent you from finding them quickly when you search for something. However, it’s still better than being forced to get through the occasional moments where your operating system freezes for a few minutes. Follow the instructions below to learn how to pause the indexing service via the classic Control Panel feature: If you’re still dealing with the same kind of storage usage during idle periods, move down to the next potential fix below.
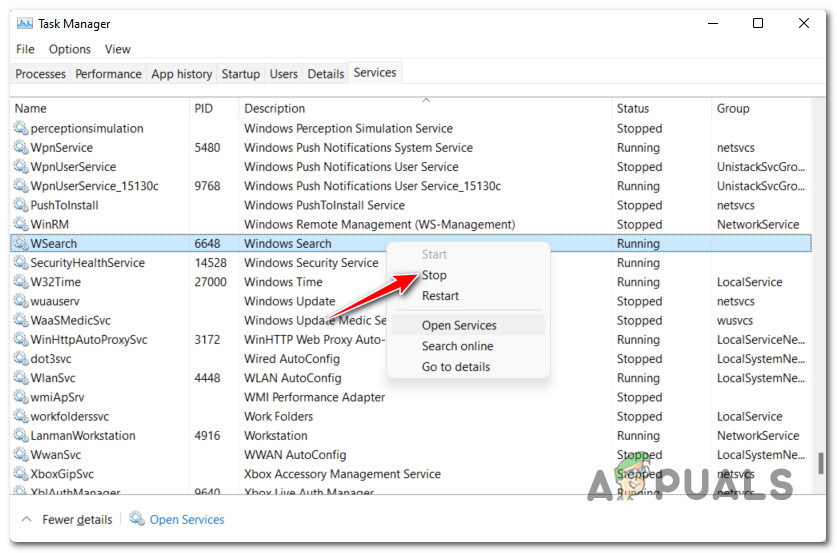
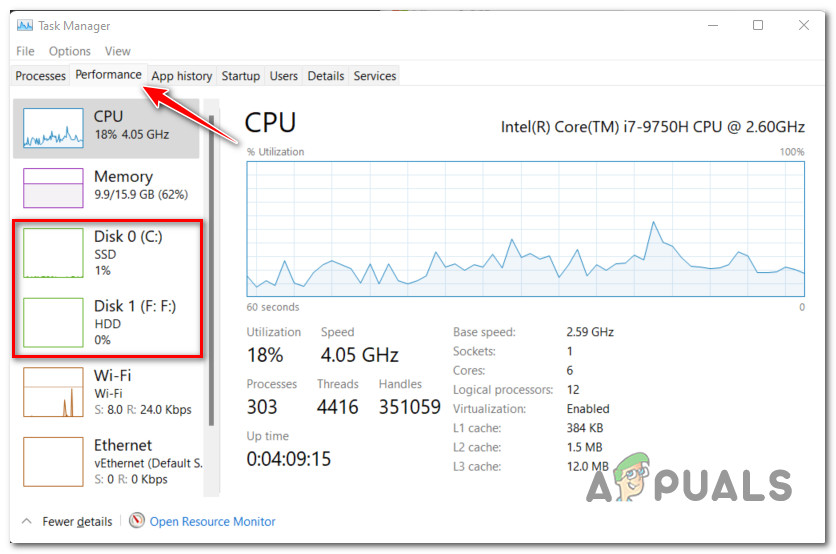
8. Stop the Windows Search service (temporary fix)
If you previously disabled the Windows Search service and this didn’t improve the disk usage spike issue you’re dealing with on Windows 11, the next thing you should investigate is the Windows Search functionality. Other users that we’re also dealing with this particular type of issue have confirmed that the problem was resolved once they force-stopped the Windows Search service via the Services tab of Task Manager. Note: Keep in mind that this is only a temporary fix. Expect the issue to return promptly after you restart your PC. Follow the instructions below for specific instructions on effectively stopping the Windows Search service on Windows 11 using Task Manager: If this method didn’t allow you to fix the issue as the disk usage has remained the same even after you disabled the Windows Search functionality, move down to troubleshoot against the final potential culprit below.
9. Disable Link Power Management (if applicable)
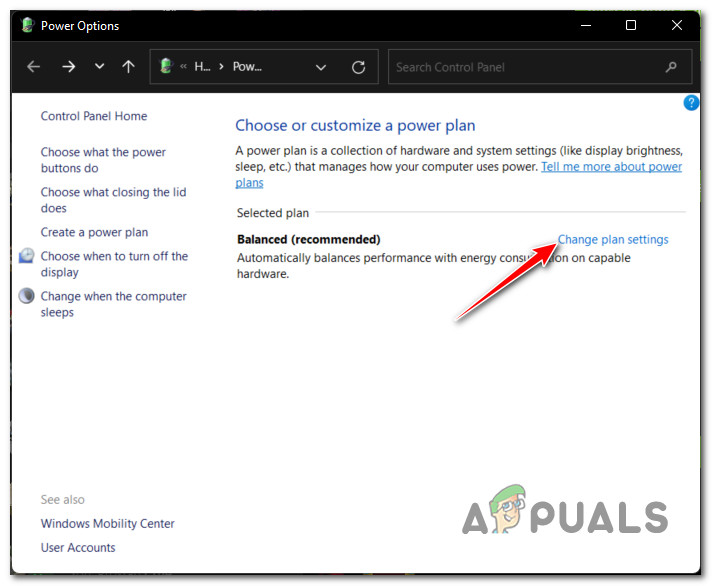
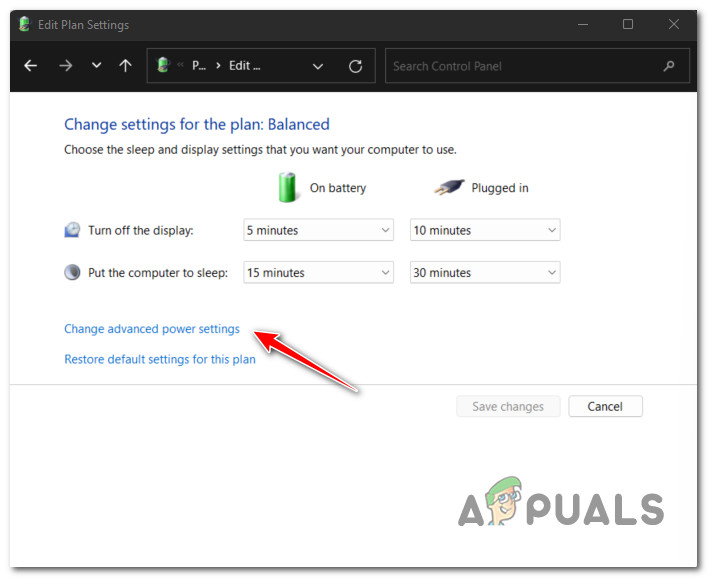
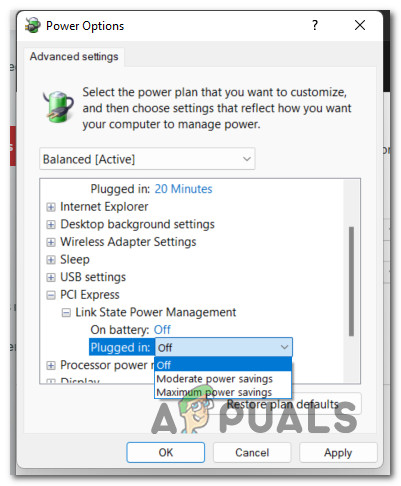
If you’re using Intel’s Rapid Storage Technology, there’s a big chance that you’re dealing with some kind of conflict caused by the Link Power Management feature. Note: Link Power Management (LPM) is a power management feature that’s used on modern Windows iterations to provide greater latency to USB devices and optimize power usage. Even this option is generally good for your system and you should keep it enabled in almost every scenario, it’s also known to conflict with the proprietary driver used by Intel’s Rapid Storage Technology. To resolve this conflict, your only option is to disable the Link Power Management (LPM) component using the Power Options menu associated with the active power plan that you’re using. Follow the instructions below for specific steps on how to do this:
Fix: Services and Controller App Random High CPU UsageHow to Fix Random Applications Opening when Pressing any KeyHow to Fix Random BSODs Caused by Netwsw02.sys?Someone Just Found A Way To Resolve The Surface Pro 7 Random Shutdown Problem